
This article may contain affiliate links.
Imagine a situation: you are advertising your car for sale and need to take pictures of it for a marketplace or a specific vehicle shopping website. Your vehicle is perfect, you are sure of that, but the car pictures make everything go wrong: the paint looks dull, reflections make the photo look messy, and your image background is too distracting. You have no chance of getting anyone to buy your car, no matter how great it might be.
Can you prevent such a disaster somehow? Definitely! Professional car photography tips can save you and help you represent your vehicle in the best light possible. This guide breaks the process into clear steps you can follow with a phone or camera, from basic preparations to a polished final look.
Step 1: Prepare Your Car

Understanding how to photograph cars begins with thoughtful preparation. Rinse, wash and dry the body panels, then do the windows last so they stay streak-free. Give the paint a quick finishing touch with a clean microfiber cloth. It will help you eliminate water spots and fingerprints. Wipe the door jambs and fuel cap area. Brake dust and dirty sidewalls often remain unnoticed by sellers, but they are visible in pictures and very distracting.
Common photo killers include papers on the dashboard, random cables, crooked wheel, dangling air freshener, messy cup holders and reflective subjects on the seats. If you notice some of them after the shoot, eliminate them when you edit the car photos.
Step 2: Choose a Location
Pick a spot with a neutral, uncluttered backdrop. Open spaces are preferable for auto photography because nothing “grows” from the roofline and steals the viewer’s attention. Trees, poles, bins, and parked cars ruin clean lines fast.
The perfect location options for newbie photographers include:
- A plain wall (industrial or modern works well).
- An empty corner of a parking lot.
- A wide driveway with no street clutter.
- A quiet side street with minimal signage.
Step 3: Work with the Light
Car photography tips recommend soft and even lighting to ensure the paint looks deep and true to life. Look for bright shade (next to a building) or a lightly cloudy day. This is how you reduce harsh highlights and keep body lines readable. If you must shoot in direct sun, move the car so the sunlight hits it from the side. Avoid shooting from above, as it can wash out the hood and roof.
Stand where your camera will be and look at the doors. If you see bins, poles, or your own silhouette, shift the car a yard or two. Tiny moves change reflections a lot. Turn the front wheels slightly toward the camera. It will emphasize your subject’s shape without unrealistic distortions. Take one test photo, identify the drawbacks, and adjust the setup accordingly before shooting the entire set.
Step 4: Set Your Camera
Use a mid-range aperture (around f/8 to f/11). Keep ISO low (often 100) so the image stays clean. Then pick a shutter speedfast enough to avoid hand shake (1/60 or faster is a safe starting point). Steady your camera on a tripod, a wall, or even a folded jacket on a curb to prevent blur.
If you shoot with a smartphone, adjusting the proper car photography settings is much harder, but still possible. Tap and hold to lock focus/exposure. Lower exposure a touch to protect highlights on the hood. Once you are done, shoot two test frames: one wider and one closer.
Step 5: Select the Best Angles for Car Photography
Many selling guides recommend a full-car image from the front corner. It helps viewers see the vehicle’s shape, design, and stance within one frame. Keep your camera around headlight height, then take one step left or right until reflections look clean. Shoot the full exterior set in one loop around the automobile. It will keep your photo gallery consistent, intentional, and polished without extra effort.
Here is the checklist of the most important and impactful car photography angles you should include:
- Front 3/4: whole car, front corner, slight turn of the front wheels.
- Rear 3/4: shows width, tail design and overall condition.
- Full side profile: stand back far enough to keep proportions natural. Zoom a little instead of stepping closer.
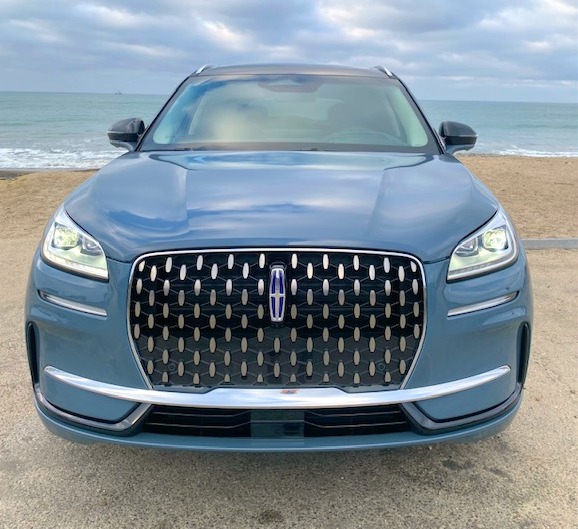
- Straight front + straight rear: clean, honest reference views buyers trust.
- Interior basics: dashboard, steering wheel area, front seats, rear seats.
Conclusion
Strong car photos come from a simple routine. You should be able to easily repeat it without advanced photography skills or expensive equipment. Shoot with a clear shot list and review images on a bigger screen to remove seemingly unimportant inconsistencies in post-processing. After two or three repeats, you will move faster, waste fewer frames, and your results will look polished and appealing.
Vehicle photos for this article by John Faulkner.