
This article may contain affiliate links.
Every time you slide behind the wheel of a modern electric vehicle or hybrid, you are interacting with thousands of engineering decisions designed to maximize efficiency and longevity. Drivers often focus obsessively on battery degradation rates or tire alignment parameters to squeeze out extra driving range. The exterior shell of the vehicle rarely receives the same level of analytical attention. The coating on your vehicle serves as the primary defense mechanism against a harsh daily environment of road debris, ultraviolet radiation and chemical contaminants. A well-maintained exterior preserves the underlying metal and composite materials while keeping the sleek aesthetic of the vehicle intact.
The Role of Smooth Exterior Surfaces in Vehicle Longevity
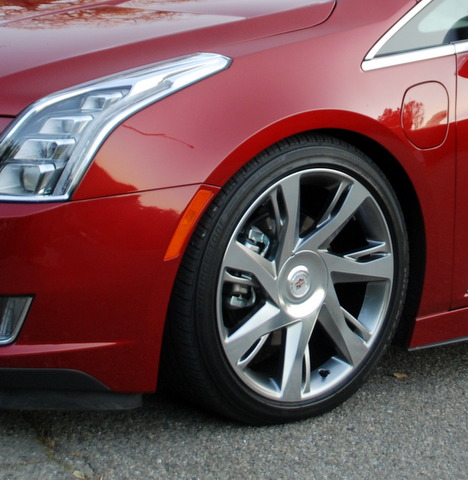
Automotive design has shifted dramatically toward aerodynamic efficiency. Automakers spend countless hours in wind tunnels smoothing out body lines to reduce drag coefficients. While a tiny rock chip will not drastically reduce your total driving range, ignoring surface damage can lead to cascading structural issues. Moisture and road salt easily penetrate exposed areas where the protective layers have been compromised. This creates micro-environments where oxidation thrives. When factory coatings wear down or sustain damage, applying high-quality car paint ensures the protective barrier remains intact against moisture and road salt. Addressing small imperfections promptly stops rust before it can spread beneath the surface and cause expensive panel damage.
Spotting and Addressing Minor Surface Damage Early
Developing a routine habit of inspecting your vehicle after long road trips or harsh weather events is a highly practical strategy. Most damage occurs low on the front bumper or along the rocker panels where tires kick up debris from the road. You should look for small white or gray spots that indicate a chip has penetrated down to the primer. Catching these blemishes early means the repair process remains simple and highly localized.
Understanding the Layers of Protection
Modern automotive finishes consist of a sophisticated multi-layer system. The bare metal or plastic is first coated with a primer that creates a bonding surface and prevents corrosion. The base coat sits on top of this primer and provides the actual color of the vehicle. Finally, a clear coat seals the base layer to provide ultraviolet protection and a glossy finish. Knowing which layer has been damaged dictates the complexity of the repair. A light scratch that only scuffs the clear coat can often be polished away with a gentle abrasive compound. A chip that reveals bare metal requires replacement of all three foundational layers.
Choosing the Right Materials for a Seamless Repair
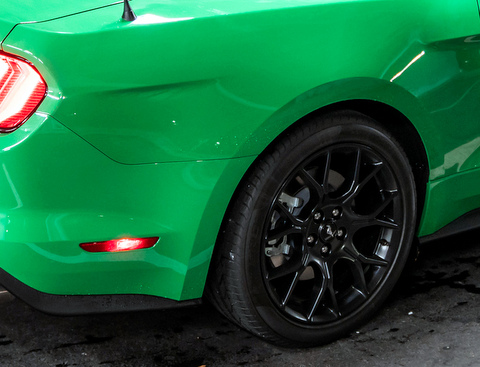
Tackling deeper chips and scratches requires matching the repair materials to the specific type of damage. Small rock chips are easily handled with a precision touch-up pen that deposits a tiny amount of color directly into the crater. Larger scrapes along a bumper might necessitate aerosol application to blend the new finish smoothly into the surrounding area. Upgrading to a two-component clear coat system adds a chemical hardener that mimics the durability of a factory finish. For those looking to restore a panel to its original factory finish, utilizing specialized products like CROP car paint provides the precise color match and durability required for a professional-grade repair. Taking the time to locate your vehicle’s exact factory color code ensures the new application blends invisibly into the existing finish.
The Importance of Surface Preparation
Even the most accurate color formulation will fail if the underlying surface is not prepared correctly. Automotive body panels must be entirely free of wax, grease and road grime before any new material is applied. A dedicated silicone remover or degreaser strips away these invisible contaminants. Lightly sanding the damaged area creates a textured mechanical profile that allows the new coating to grip the surface firmly. Rushing the preparation phase almost always results in peeling or flaking down the road.
Best Practices for Applying Touch-ups at Home
Patience is your most valuable tool when repairing exterior damage. You should always work in a well-ventilated, dust-free environment with moderate temperatures. Extreme heat causes materials to dry too quickly and leads to uneven textures. Cold temperatures prevent proper curing and leave the finish soft and vulnerable. Applying multiple thin layers rather than one heavy coat prevents runs and allows the solvents to evaporate properly between applications.
Once the base color has dried completely, adding the protective clear coat restores the original depth and shine. The repaired area will usually look slightly raised compared to the surrounding panel. Allowing the fresh application to cure for several days gives you the opportunity to lightly wet-sand and polish the spot until it sits perfectly flush with the rest of the body. Mastering this straightforward maintenance process protects your automotive investment and keeps your vehicle looking factory fresh for years to come.
